Downloading Tools
To get started with CSCE240, you’ll need to set up a few essential tools on your computer. These include a C++ compiler, and a style checker to ensure your code meets course standards. This guide will walk you through downloading and installing everything you need for a smooth development experience.
Apple Users
Section titled “Apple Users”You can find different tools at Homebrew. At the terminal you can install what you need with the following commands:
brew install gccbrew install makebrew install cpplintgccis for the C++ compilermakeallows you to build your programs through amakefilecpplintis the linter that checks for Google Style compliancy
Linux Users
Section titled “Linux Users”You can enter the following commands in the terminal to setup the tools you need for this course:
sudo apt updatesudo apt upgradesudo apt install build-essential python3 python3-pipsudo pip3 install cpplintsudo apt updateis to update the list of available software and package versionssudo apt upgradeinstalls the latest versions of all installed packagessudo apt install build-essential python3 python3-pipinstalls essential build tools, Python 3, and its package manager, pipsudo pip3 install cpplintfor checking C++ code against Google’s style guide
Windows Users
Section titled “Windows Users”The Windows Subsystem for Linux (WSL) lets you run a full Linux environment directly on your Windows 11 or 10 computer—without needing to set up a separate computer or install Linux as your main operating system.
Search Windows
In the search bar enter
windows featuresand click on the Control Panel tool: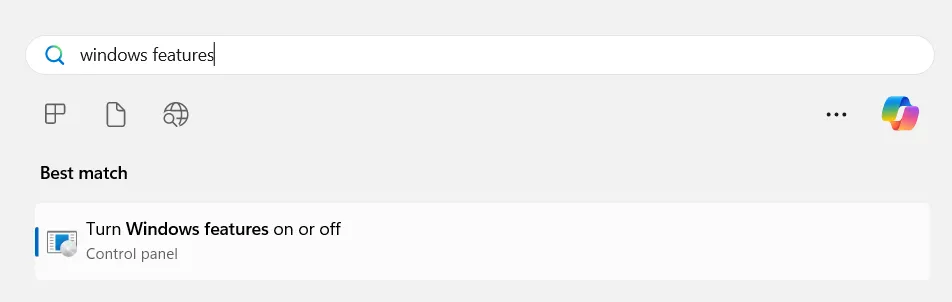
Opt-in To Linux
Scroll down and check
Windows Subsystem for Linux, and restart your computer: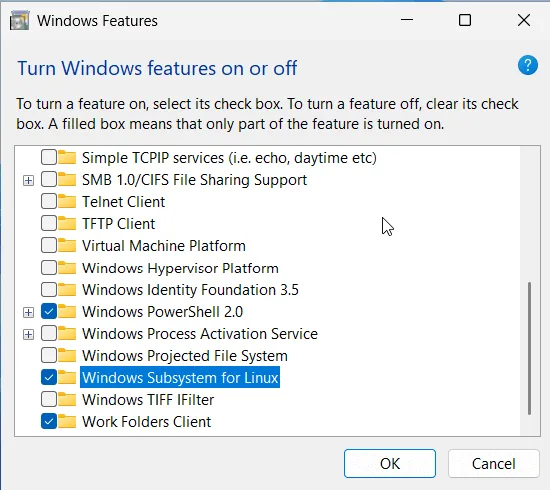
Download from Microsoft Store
Search for
ubuntu ltsin the microsoft store, download it, and go through the installation process in the terminal: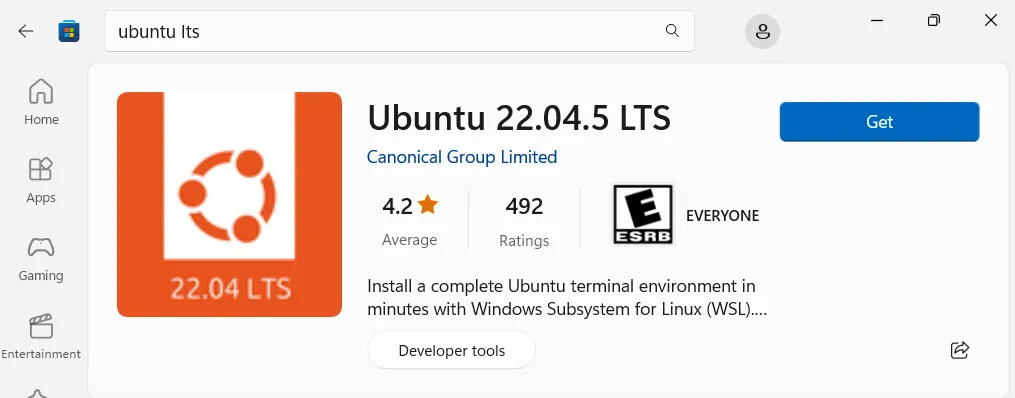
Create User and Download Tools
Create a username and password, as you’re creating your password you won’t see any characters typed, this is a security feature in Linux.
Use the following commands to setup the tools you need for class (they are the same as the Linux section):
Terminal window sudo apt updatesudo apt upgradesudo apt install build-essential python3 python3-pipsudo pip3 install cpplintsudo apt updateis to update the list of available software and package versionssudo apt upgradeinstalls the latest versions of all installed packagessudo apt install build-essential python3 python3-pipinstalls essential build tools, Python 3, and its package manager, pipsudo pip3 install cpplintfor checking C++ code against Google’s style guideCreate Course Files
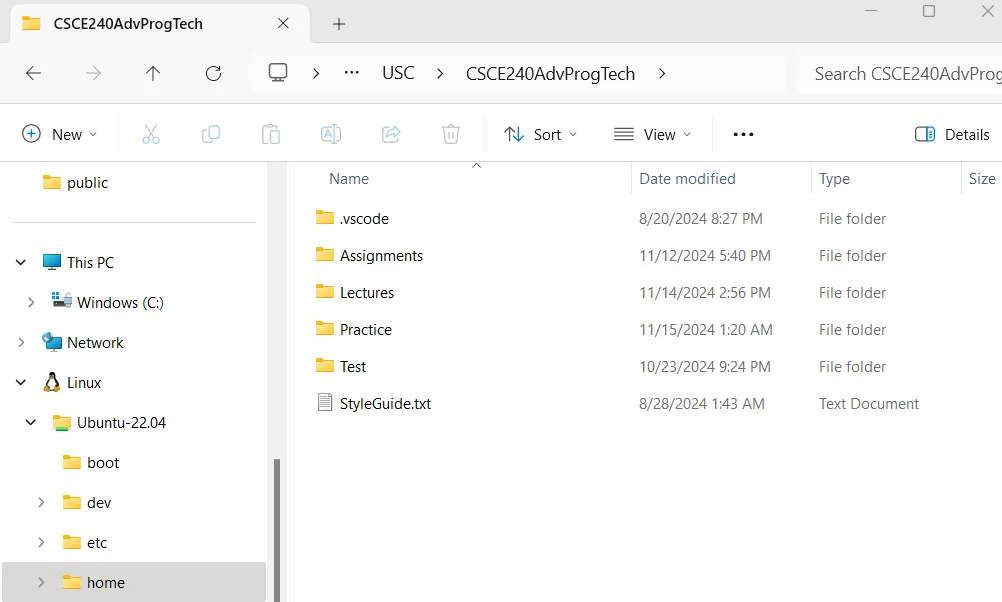
If you open Windows File Explorer, you should now see a folder for Ubuntu:
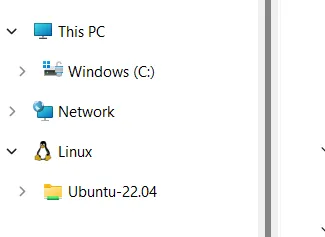
Open the
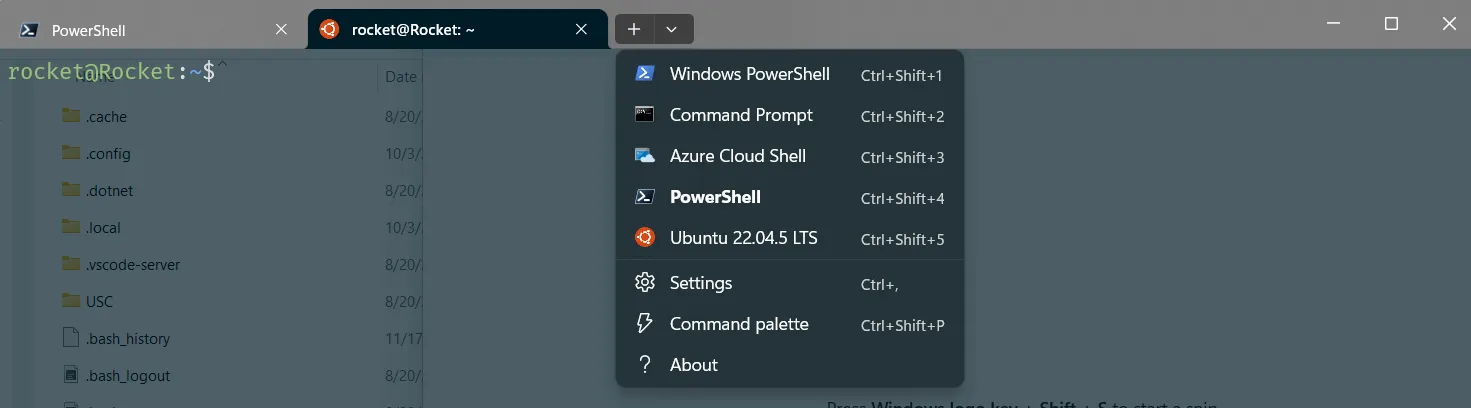
Ubuntufolder and then open the folder calledhome. In that directory you should see a folder named after your username, go ahead and open that folder. This is where your Ubuntu terminal opens.To open your Ubuntu terminal open your Windows terminal, click on the down arrow, and select Ubuntu:
In your username folder, you can create a folder to hold all the course files. I created a
USCfolder, then aCSCE240folder to store my files. This is in case I use Linux for other courses or projects.